Getting Started
This guide walks you through setting up Codex and creating your first library.
System Requirements
- CPU: 1 core (2+ recommended for scanning)
- RAM: 512 MB (1 GB+ recommended)
- Storage: Depends on your library size and thumbnail cache
- OS: Linux, macOS, or Windows
Quick Start with Docker (Recommended)
The fastest way to get started is with a single docker run command:
docker run -d \
  --name codex \
  -p 8080:8080 \
  -v /path/to/your/library:/library:ro \
  -v codex-data:/app/data \
  -e PUID=1000 \
  -e PGID=1000 \
  -e CODEX_AUTH__JWT_SECRET="$(openssl rand -base64 32)" \
  ghcr.io/ashdevfr/codex:latest
Access Codex at http://localhost:8080. On first launch, you'll be guided through a setup wizard to create your admin account.
:::tip Finding Your User ID
Run id in your terminal to find your UID and GID. Use these values for PUID and PGID to avoid permission issues with mounted volumes.
:::
Replace /path/to/your/library with the path to your comics, manga, or ebooks folder.
Volume Mounts
| Container Path | Purpose |
|---|---|
/app/data | Database (SQLite), thumbnails, and uploads |
/library | Your media files (read-only recommended) |
:::tip Library Permissions
Mount your media library as read-only (:ro) to prevent accidental modifications. Codex only needs read access to your files.
:::
:::tip Docker Compose For a more maintainable setup, see the Docker Deployment guide for Docker Compose examples. :::
Quick Start with Binary
If you prefer running Codex directly without Docker, pre-built binaries are available for Linux, macOS, and Windows.
Supported platforms:
- Linux x86_64 / ARM64
- macOS x86_64 (Intel) / ARM64 (Apple Silicon)
- Windows x86_64
Linux & macOS
curl --proto '=https' --tlsv1.2 -LsSf https://github.com/AshDevFr/codex/releases/latest/download/codex-installer.sh | sh
Windows (PowerShell)
powershell -ExecutionPolicy Bypass -c "irm https://github.com/AshDevFr/codex/releases/latest/download/codex-installer.ps1 | iex"
The installer downloads the right binary for your platform and places it in $CARGO_HOME/bin (defaulting to ~/.cargo/bin). It also updates your shell PATH so the codex command works in new terminals.
:::tip Pinning a version
To install a specific release, replace latest with the version tag, for example:
curl --proto '=https' --tlsv1.2 -LsSf https://github.com/AshDevFr/codex/releases/download/v1.19.3/codex-installer.sh | sh
:::
Run Codex
Once installed, start the server:
codex serve
With no config file present, Codex runs on its built-in defaults: a SQLite
database under data/, listening on port 8080.
Access Codex at http://localhost:8080. On first launch, you'll be guided through a setup wizard to create your admin account.
:::tip Custom Configuration Codex does not write a config file for you. When you want one, generate a commented starter and edit it:
codex config init                  # writes config/codex.yaml
codex serve                        # reads config/codex.yaml
codex serve --config /path/to/codex.yaml
Run codex config check to validate it. See the Configuration guide for all available options.
:::
First Login
- Open Codex in your browser at
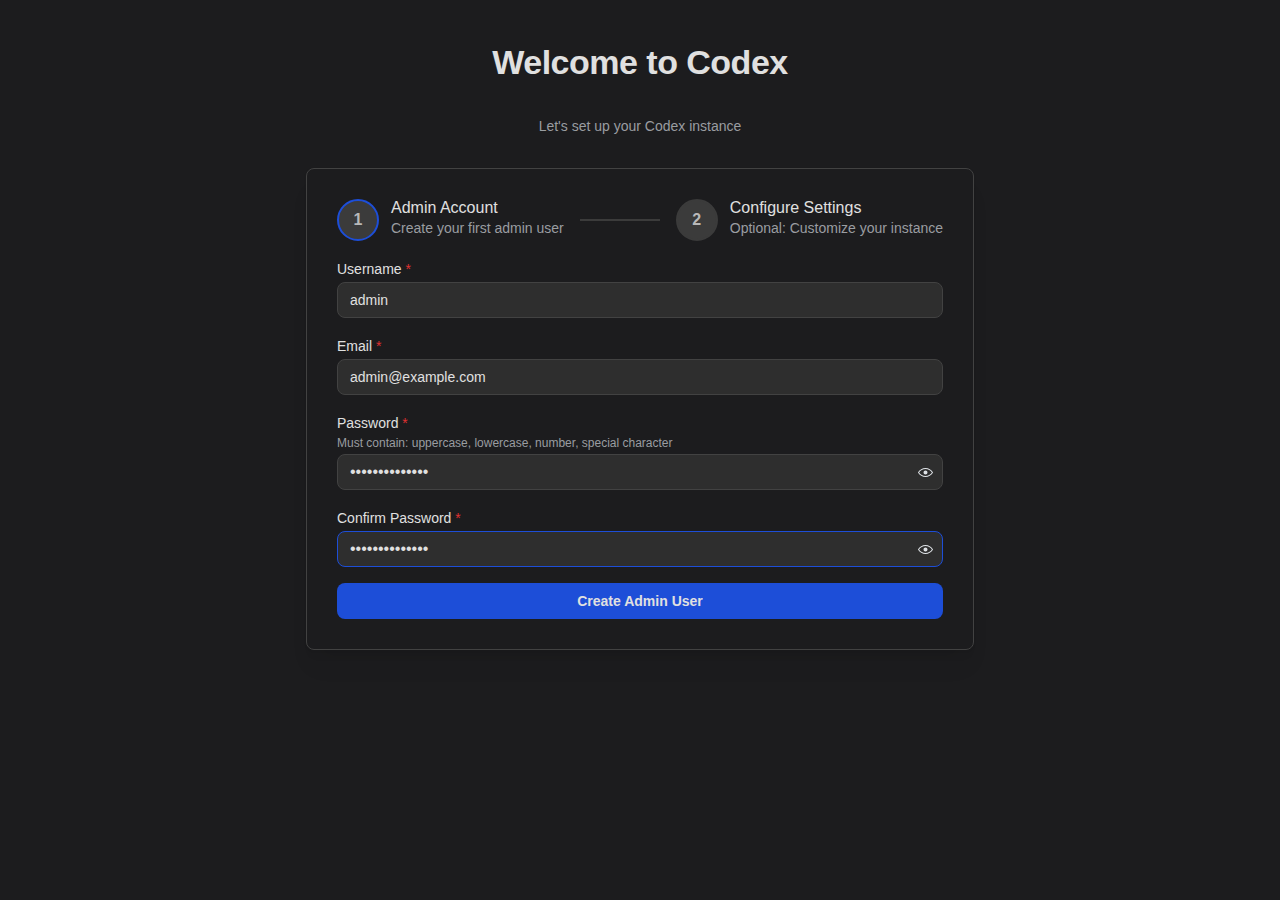
http://localhost:8080 - Complete the setup wizard to create your admin account
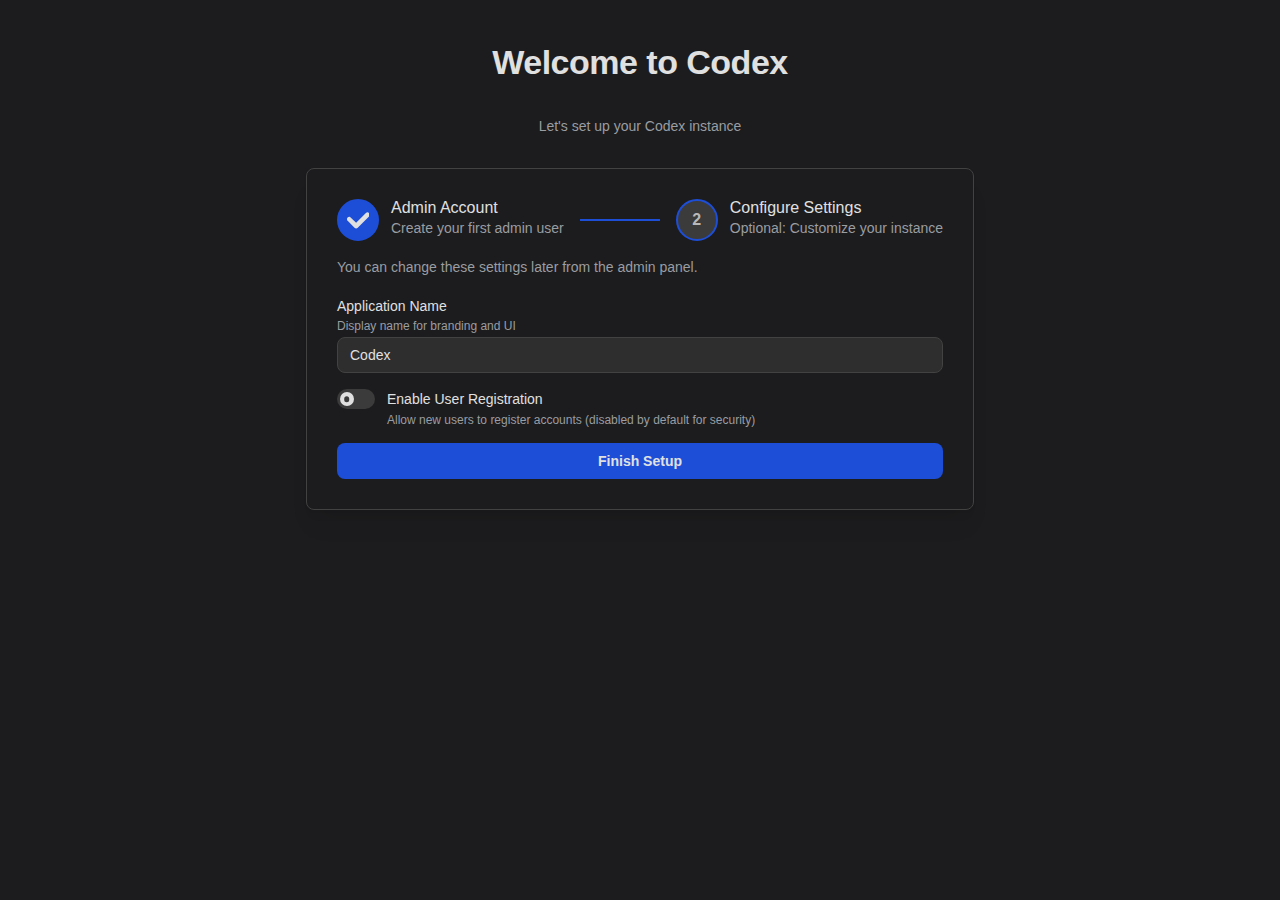
- Optionally configure basic settings (application name, user registration)
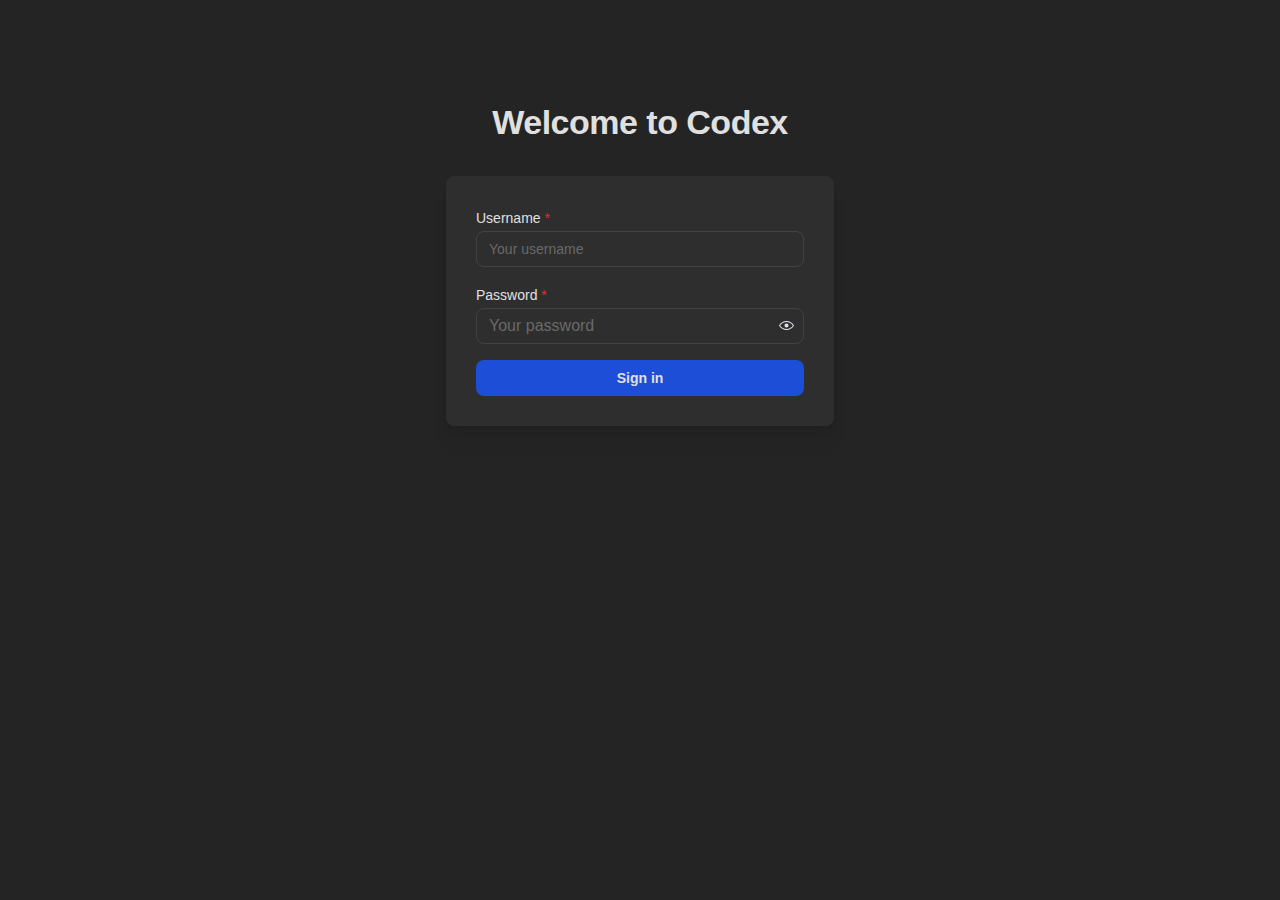
- Log in with your new credentials
Creating Your First Library
- Click Libraries in the sidebar, then click + to add a new library
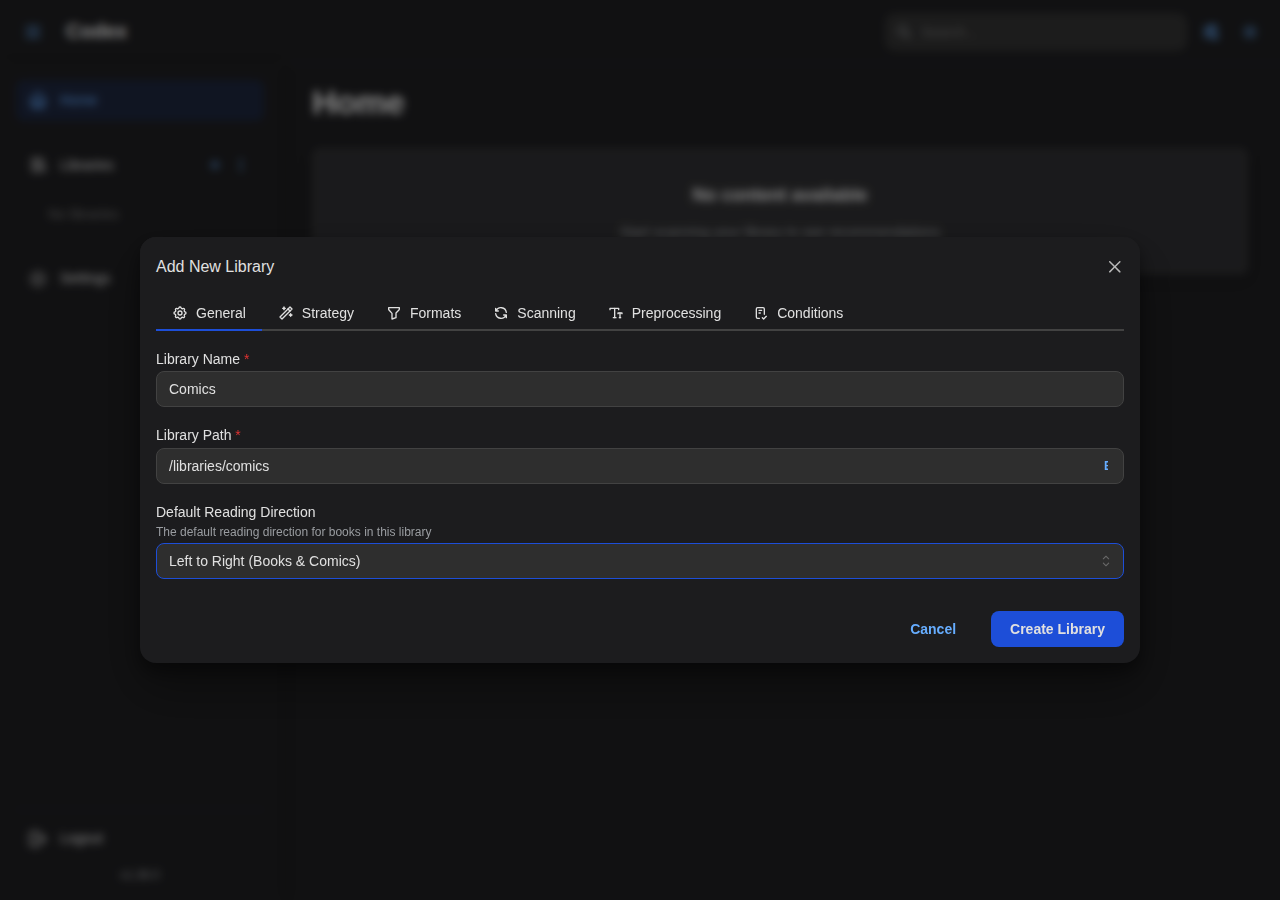
- Fill in the General tab:
- Name: A descriptive name (e.g., "My Comics")
- Path: The folder path containing your files
- Docker: Use the container path (e.g.,
/library) - Binary: Use the local path (e.g.,
/home/user/comics)
- Docker: Use the container path (e.g.,
- Default Reading Direction: Choose based on your content type
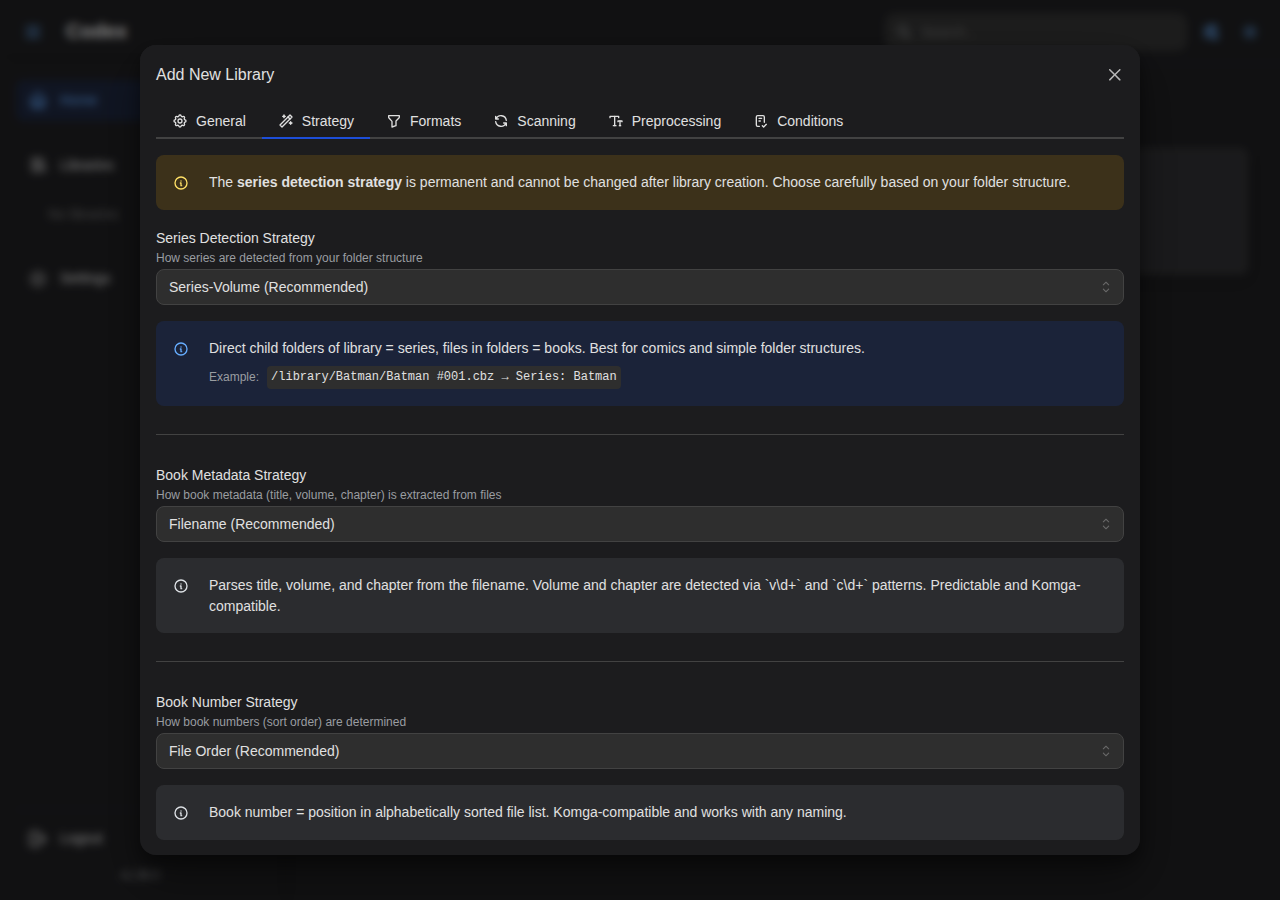
- Configure the Strategy tab for how series and books are detected
- Set up Scanning options:
- Manual: Scan only when you trigger it
- Automatic: Schedule regular scans with cron expressions
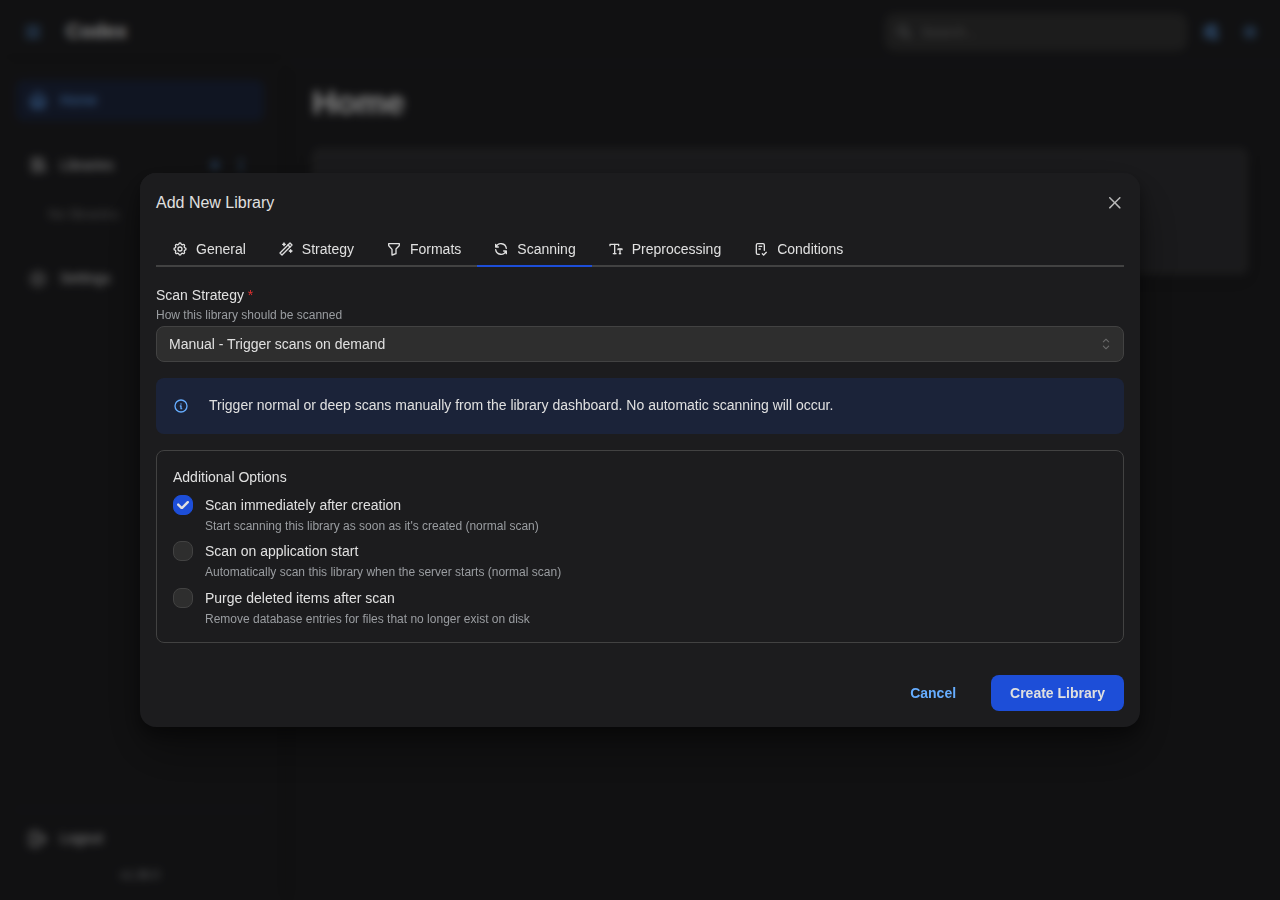
- Click Create Library
Multiple Libraries (Docker)
Mount multiple folders in your Docker command or compose file:
volumes:
  - /media/comics:/library/comics:ro
  - /media/manga:/library/manga:ro
  - /media/ebooks:/library/ebooks:ro
Then create separate libraries pointing to /library/comics, /library/manga, etc.
Running Your First Scan
If you enabled "Scan on startup", Codex will automatically scan when the library is created.
For manual scans:
- Go to your library in the sidebar
- Click the Scan button
- Choose Normal for incremental scan or Deep for full re-scan
- Watch the progress in real-time
Browsing Your Library
Once scanning completes:
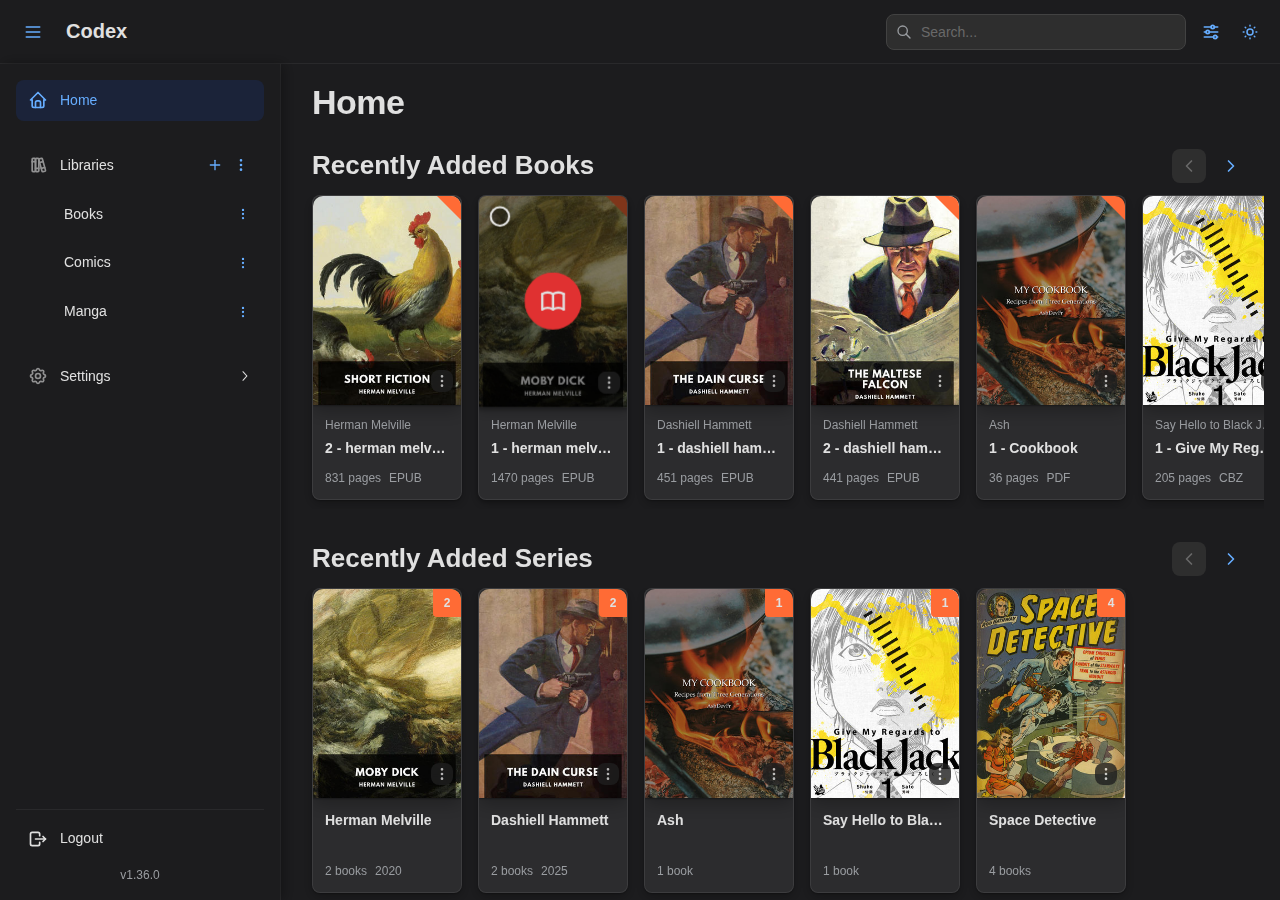
- Home: See "On Deck" (continue reading) and recently added series
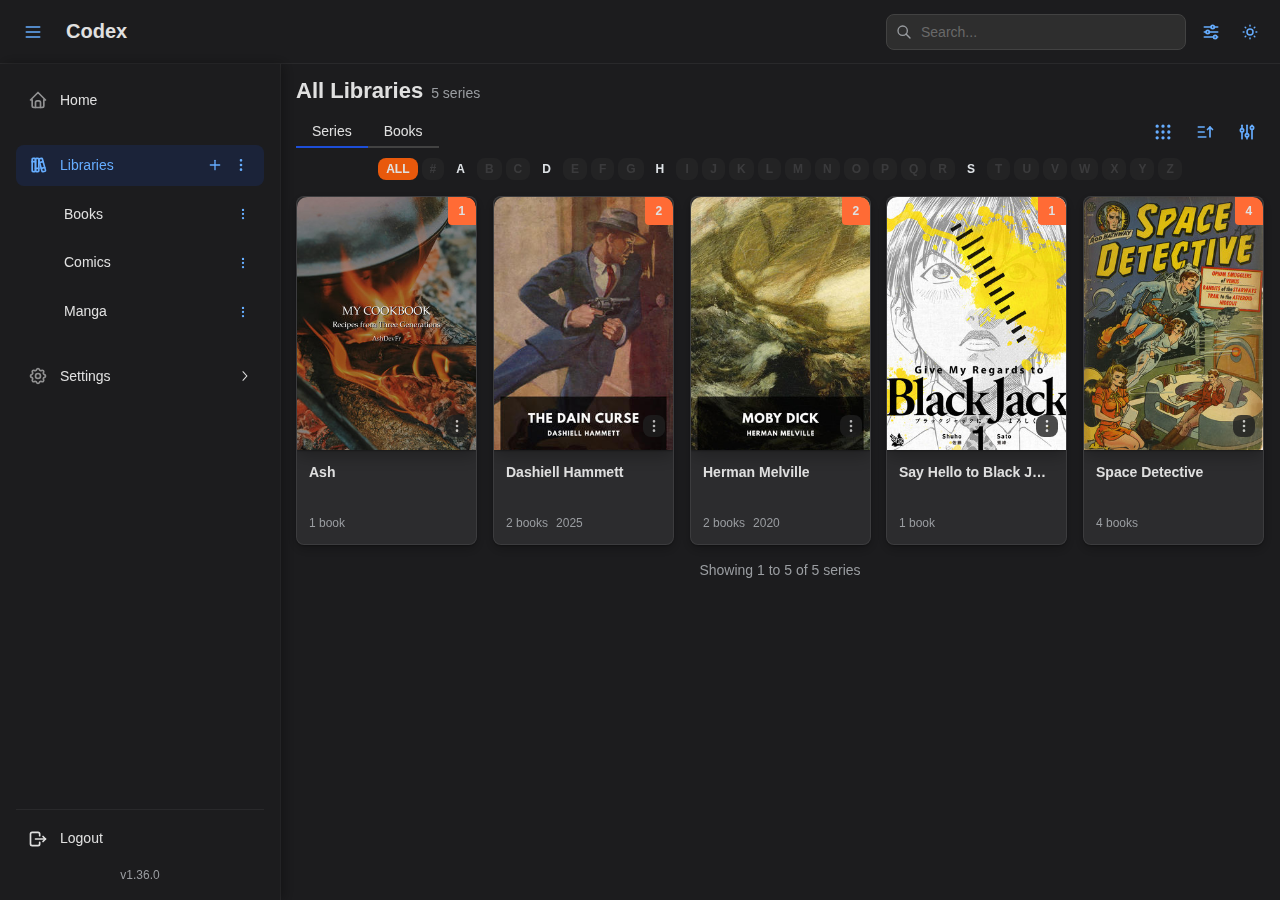
- By Series: Click a library in the sidebar to browse series
- By Books: Toggle between series and books view
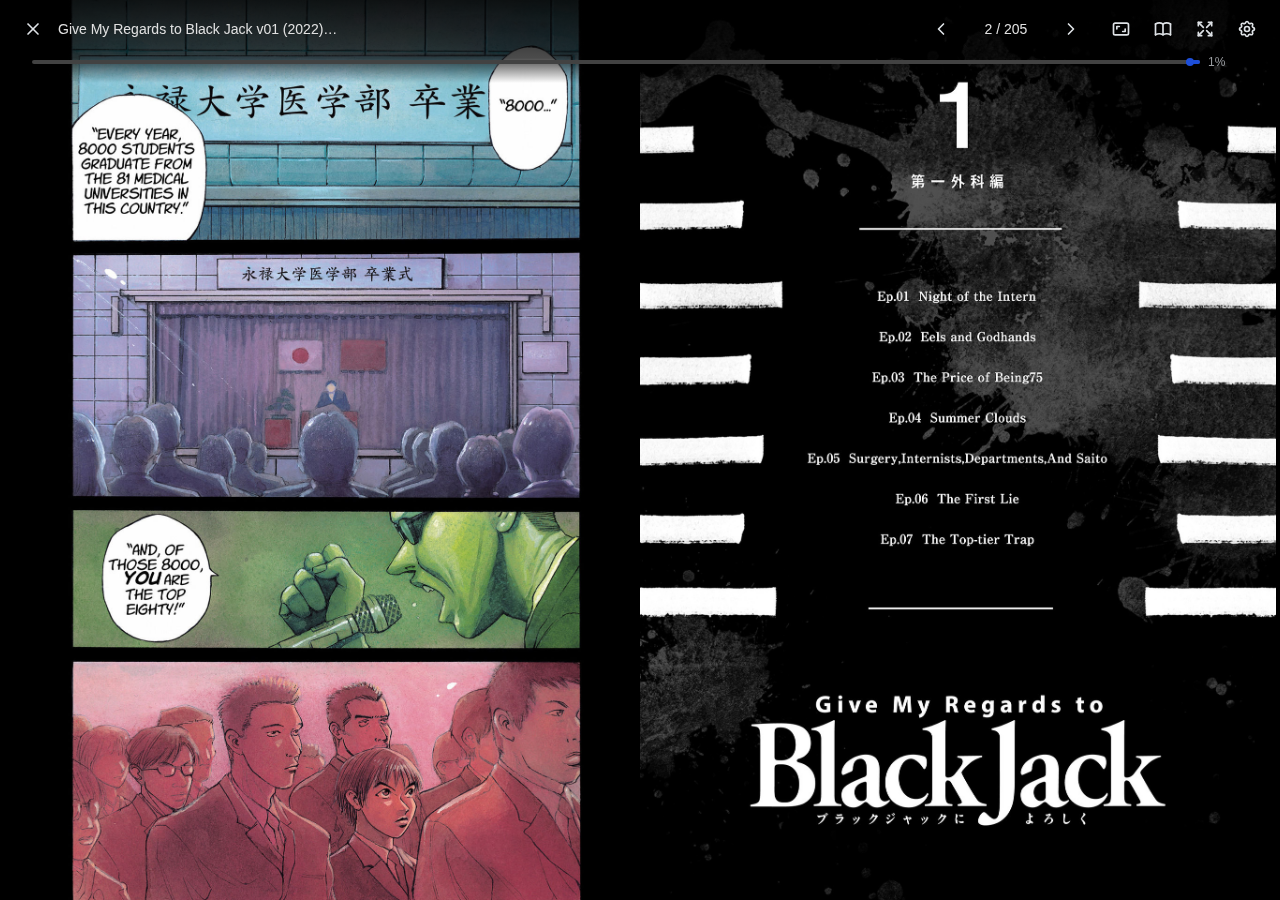
Reading a Book
- Click on a book cover to open the reader
- Navigate with arrow keys, swipe, or click left/right edges
- Progress is saved automatically
- Access settings via the gear icon in the toolbar

Upgrading
Docker
docker pull ghcr.io/ashdevfr/codex:latest
docker stop codex && docker rm codex
# Run your docker run command again
Binary
Re-run the installer to pull the latest release:
curl --proto '=https' --tlsv1.2 -LsSf https://github.com/AshDevFr/codex/releases/latest/download/codex-installer.sh | sh
Then restart Codex (migrations run automatically).
Troubleshooting
Library Not Found
Docker: Ensure the volume is mounted correctly:
docker exec codex ls -la /library
Binary: Verify the path exists and Codex has read permissions.
Books Not Appearing
- Verify file format is supported (CBZ, CBR, EPUB, PDF)
- Check files aren't corrupted
- Run a deep scan to re-process all files
Login Issues
- Verify credentials are correct
- Check JWT secret is set in configuration
- Clear browser cookies and try again
For more help, see the Troubleshooting Guide.